Preparing for All About Reading and a Giveaway
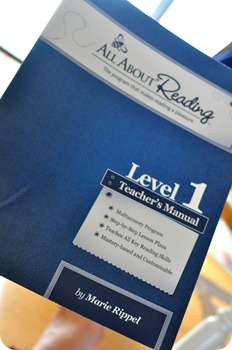
I should have known that Marie Rippel is smarter than me. I never considered that she would explain (in the teacher’s manual) how to set up the All About Reading Level One program.
It seemed genius to me to create a tutorial of sorts, to show a newbie how to prepare for teaching All About Reading Level 1.
I put everything together, complete with pictures, before I realized that on page 13 of the teacher’s manual Marie had included instructions for preparing the curriculum for daily usage.
She is the author and creator . . . of course she thought of everything! (By the way, I have met her in person. She is so sweet!)
![[homeschool conference 002[3].jpg]](http://lh6.ggpht.com/_tWfB7Eky-Ng/TZpxLLGfmVI/AAAAAAAAL7Q/P-ou9SAoBRk/s1600/homeschool+conference+002%5B3%5D.jpg)
Sigh.
How sweet? Sweet enough to be hosting a giveaway! If you want to win the All About Reading Level 1 kit . . . head on over to the giveaway. Then come back! (Giveaway ends January 10, 2012)
But IRL pictures can be nice, right?
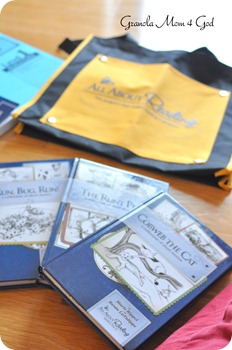
Hopefully you already received your All About Reading Level 1 kit which contains:
- a Teacher’s Manual
- Student Packet (including Activity Book)
- Run, Bug, Run! reader
- The Runt Pig reader
- Cobweb the Cat reader
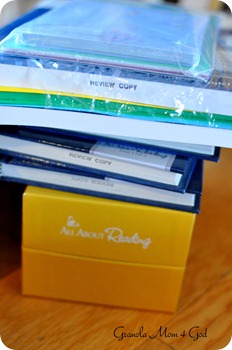
Additionally, you should have chosen the Basic Kit or the Deluxe Kit . . . UNLESS you have previously used All About Spelling with an older child. The All About Spelling kit also uses the Letter Tiles and Basic Phonograms CD-ROM. If you ALREADY have those two items then you might consider ordering the Reading Review Box, stickers, and tote separately, in addition to the All About Reading Level 1 kit, that is.
What do you need to get started?
- Set of color-coded Letter Tiles
- Reading Review box or index card box
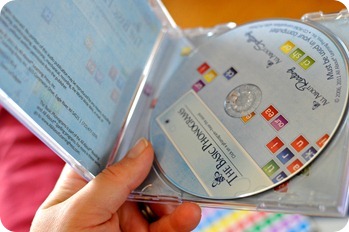
- The Basic Phonograms CD-ROM (I haven’t listened to this in 3+ years due to having taught reading/sounds as a Kindergarten teacher. But if you find yourself in any way nervous about teaching your child to read, this CD-ROM is necessary to your sanity.)
- Blast Off to Reading! activity book – Don’t photocopy the book for your next child. Save yourself time, grief, ink, and money (not to mention copyright laws). Purchase a consumable book for each child.
- Magnet board (2’H x 3’W)
- two small baggies (I’ll explain later.)
- AAR Divider Cards. They are firm, laminated, and fit nicely into the AAR Review Box.
What would be bonus (that comes with the Deluxe Kit by the way)?
- Reading Review Box
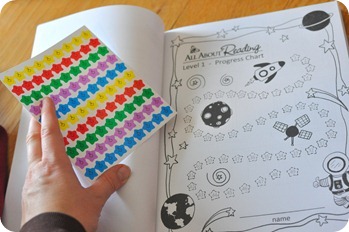
- Star Stickers
- Reading Tote Bag
The cost difference between the Basic Kit ($28.95) and the Deluxe Kit ($48.95)?
20 bucks.
Quite honestly . . . this is one of the RARE times I would cough up the money just to have the Deluxe Kit. Maybe it is because we have so many school books and RANDOM bags . . . that I am drawn to order and ease of use.
BUT I do like that . . .
- The star stickers fit perfectly on Ezra’s Reward Chart. P.E.R.F.E.C.T.L.Y. It is nice to already have them.
- The bag? It’s easy to find; everything fits inside in an orderly manner; Ezra knows that it is HIS.
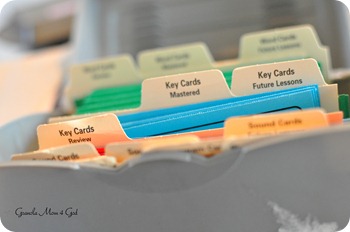
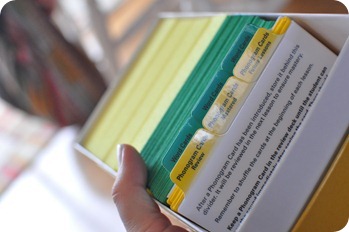
- The review box houses the review cards snuggly – keeping them from being damaged.
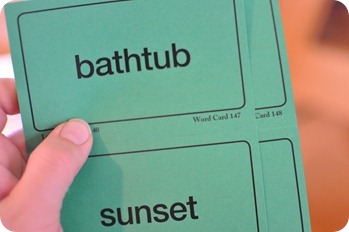
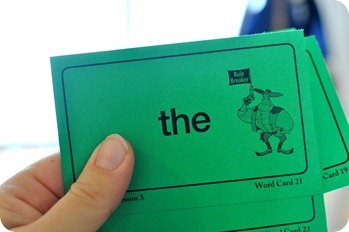
See here? Bent and unhappy cards.
They lacked the right home and have suffered, even though we recently moved them to a larger plastic index card box. (These cards are for Asher’s All About Reading curriculum.)
One last item to consider . . . Ziggy. Ezra would have been crushed to have left Ziggy behind. He’s 5 . . . and I am going to indulge him ESPECIALLY because he now sees Gabe, his younger brother, using Ziggy for All About Reading Level Pre-1.
Anyhow, we need to get moving on this project.
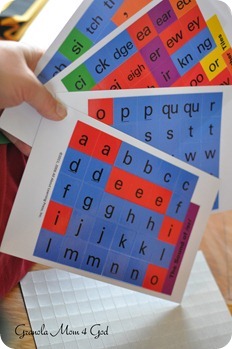
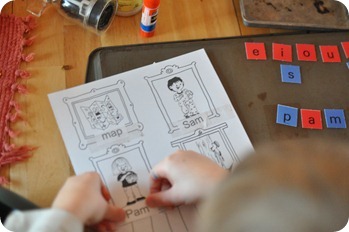
Take the Laminated Letter Tiles out of that plastic bag they arrived in. I would recommend that you refrain from tearing them apart just yet.
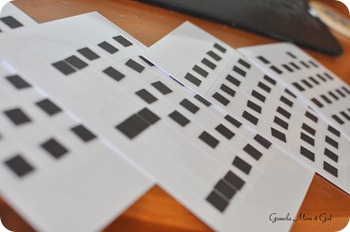
See that white sheet . . . those are magnets. Stick the magnets onto the letters. Since the letters are perforated, it is easy to place one magnet on each letter tile. Place two magnets on the back of each label.
Have your future student tear these puppies apart!
At this point you need your two plastic baggies. Label one bag Level 1 and the other bag Level 2-7.
In the Level 1 bag place,
- two sets of letters a to z
- letter tiles th, sh, ch, ck, ng, nk and the third s
- Consonant Teams label
Place the remaining tiles in that second labeled bag and store for future use. Don’t forget where you put it!! Maybe just keep it with your All About Reading Level 1, until you purchase the next phase.
On your magnetic board (mine is still at the store – we are currently using a cookie sheet – shh!!) . . .
As I was saying, on your magnetic board line up one complete set of alphabet tiles from a to z . . . including the red and blue y. (Picture not shown) Store the remaining tiles in plastic bag Level 1.
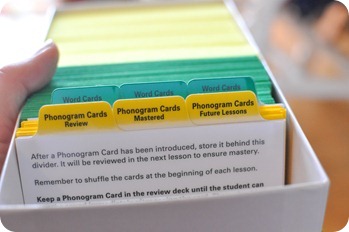
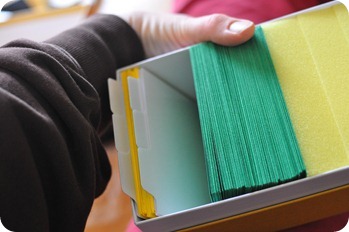
Now for the Reading Card Box. I love boxes.
Place your divider cards in your box. Easy.
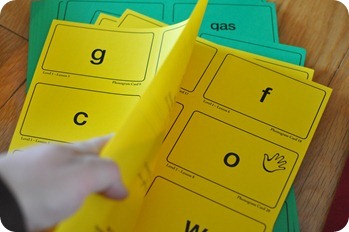
Grab the buzzing yellow Phonogram Cards from the Student Packet. These cards have some of the best perforation I have ever encountered.
Fold cards in half horizontally. Note the left and right columns. Or numbers.
Place the left column on top of the right column or the lower number on top of the higher number. By doing so you won’t have to re-sort the cards. (The card number is found in the lower right hand corner.)
Accordion fold the smooching columns and separate, stacking the cards in numerical order as you tear them apart.
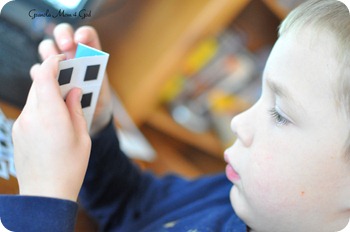
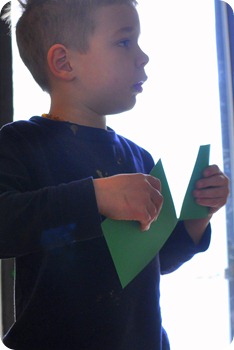
I even had my future All About Reading All-Star help me out.
Which meant I had to re-sort . . . but even then that wasn’t such a big deal.
Place your cards behind the appropriate dividers . . . which are their color corresponding Future Lessons tabbed dividers.
Now, you as the teacher need a little bit of quiet to process.
Things to consider . . . make sure your CD-ROM works in your computer (ours doesn’t even though the computer is NEW!). Practice using this tool . . . listening to the sounds.
Go through the teacher’s manual. See what some of the future lessons look like. Plan on spending 20 minutes each day with your child in AAR.
Gather some necessary supplies to be stored in your AAR tote. Be prepared and avoid getting up from the lesson 20+ times because you didn’t grab the tape that you used yesterday to wrap a present upstairs.
- a pair of student scissors
- mommy scissors
- a box of crayons (or markers)
- glue or tape (our adhesion of choice)
- miniature stapler
End your time of learning with a reward. Your child’s star sticker!
Have a special basket of books specifically for snuggle time after a day’s lesson. I highly recommend you get a copy of Honey for a Child’s Heart for some great children’s book ideas.
Have fun reading! We are!
