Binding Books: Why and How
While I enjoy my Kindle and various Kindle apps, I am a bibliophilic still.
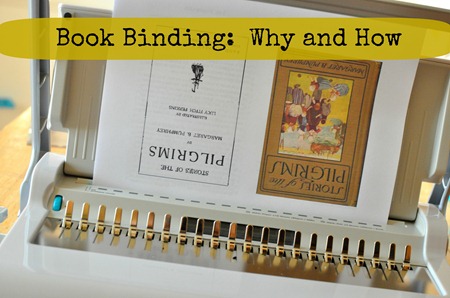
A lot of our books are either on a disc (like our Heritage History curriculum),
or magically appear electronically in the download file of my computer (like our Lamplighter fiction).
Electronic Screens are Eerie
There is just something about the luminescence of a white lit screen that isn’t inviting.
I don’t like it’s reflection on our skin.

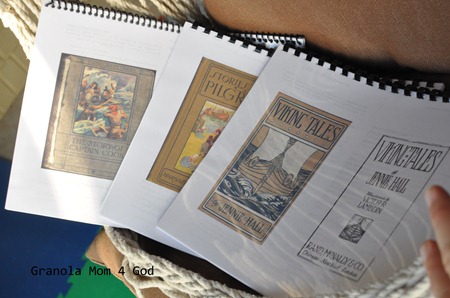
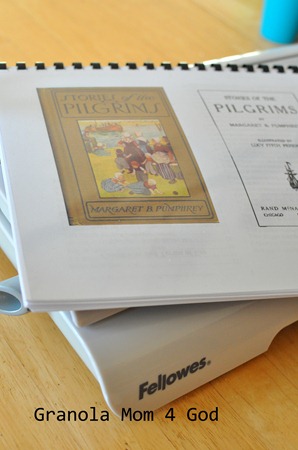
To be honest, I cast aside all my tree hugger ways, and print many of our eBooks. (Shhhhh!)
The Most Expensive Way to Bind your Textbooks
While the ink and the paper can be expensive, let me tell you what is super expensive:
taking printed eBooks to Kinkos.
I was paying some $5 plus to bind our eBooks. Essentially, I was taking a cheap option and making it expensive.
The reality is that I plan on reading ALL of the books in our Heritage History Young Adult collection.
Umm . . . I am not going to spend $430 (86 books at $5 a pop) to bind all of them.
Yes, I could hole-punch the printed eBooks and lovingly place them in a three ring binder . . . but talk about a-w-k-w-a-r-d. A three ring binder is like a book having to wear a headgear. Or me putting a gi-normous popcorn bowl between the Engineer and I on our second date.
Not to mention, I bind our Grapevine Studies Bible curriculum and many other printables that we use for school. I might even bind the kids together if they start fighting.
Why Bind your Textbooks? It’s Cheap.
So we sit, and we snuggle, under a real light bulb (well, an energy efficient one) and sometimes snag a few minutes outdoors when it is warm – with a book I personally bound.
Equipment Needed for Book Binding
You won’t believe how easy this is . . . and how much CHEAPER personal book binding is (in the long run).
- Fellows Manual Comb Binding Machine
- Plastic Comb Binding for 55 sheet capacity
- and/or Plastic Comb Binding for 150 sheet capacity
- Black Presentation Cover – optional (though I always use this for the backing of my books)
- Clear Presentation Cover — optional (this is what I use for the front of my books)
Preparation for Binding Your eBook
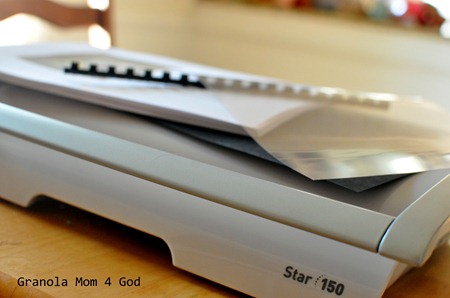
- Print desired pages. Yes, I know this is a rather obvious statement – but I am covering the basics.
- Decide what size comb you need to use based on the number of pages you printed.
- Grab one clear front cover and one black back cover. (Optional – if you purchased these items.)
- Create a clear and clean workspace. I can’t stress how important this step is!
Step-By-Step Instructions for Book Binding
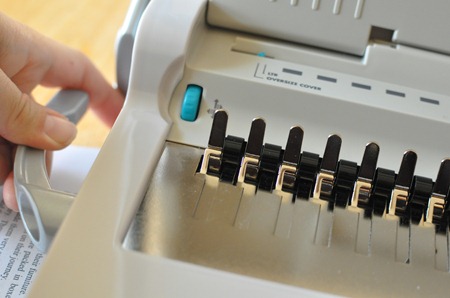
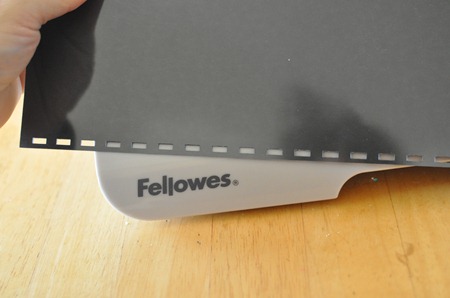
1. See the big lever my hand is resting on? Push it all the way up. While you are at it, lift the binding (comb) machine cover up because that is what is going to be holding up the pages of your book.
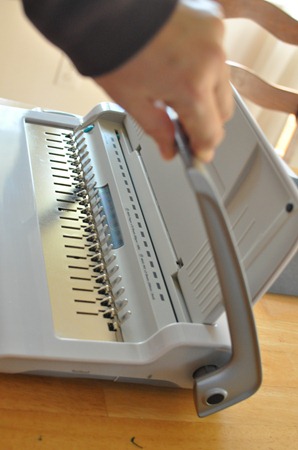
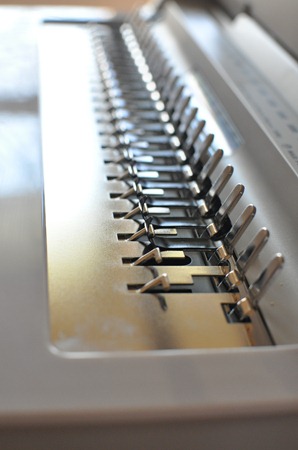
2. Insert plastic comb into the metal prongs. The first plastic comb will fit just to the right of the first metal prong.
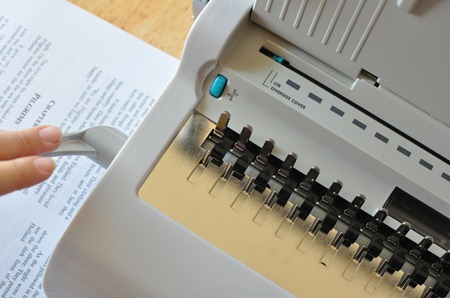
3. Using the smaller front lever, slowly pull it forward (somewhat counter-clockwise you could say).
You will notice that as you bring the small lever towards you, the comb begins to uncurl.
As you punch paper you will be inserting the freshly cut pages into these hungry combs – but we are getting ahead of ourselves. All in good time.
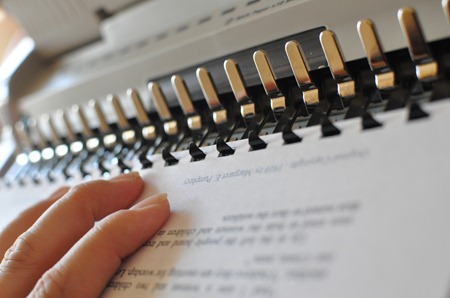
4. Taking the front and back covers of your book, insert them into the horizontal opening in front of the vertical binding machine lid. Be sure to tap them down into the long snug hole to insure even comb punches. Because I am not making an oversized cover, I have lined my pages up with the second smaller guide line.
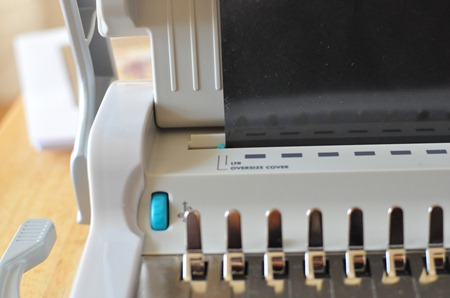
5. Pull large lever down (that was used in step one). This will cut the holes or rectangular punches that your plastic comb will later feed through.
Final product looks good.
6. Reset large lever to the top of the machine.
7. We are going to begin binding at the FRONT of the book. Therefore, line up the clear plastic cover with the first hungry plastic comb, and like sheep the rest of the comb slots will file into their respective places. (Sorry, I forgot to take a picture of this step so I am showing you how I added the LAST page.)
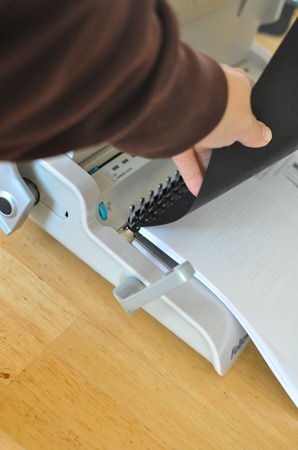
8. Now it is time to comb punch your printed eBook! Line (up to) 10 pages flush with the turquoise tab on the left-hand side of your machine. Once again, make sure all of the pages are even and inserted fully into the horizontal opening of the machine. Trust me, it is maddening when you spend time binding a book and some of the openings are at the edge of the paper and the comb continually slips through the broken paper hole. (Note: there “should” be a black comb below those pages.)
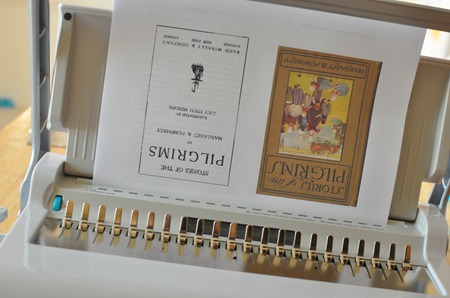
9. Pull larger lever down to hole punch your eBook (that is no longer has an “e”).
This process will be repeated until your book is done.
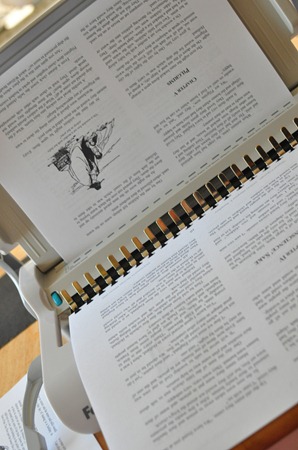
10. As you hole punch, the completed pages will be inserted through the quickly satiated plastic binding combs, identical to the way we inserted the clear front cover. We call this continuous feeding, kind of like on-demand nursing.
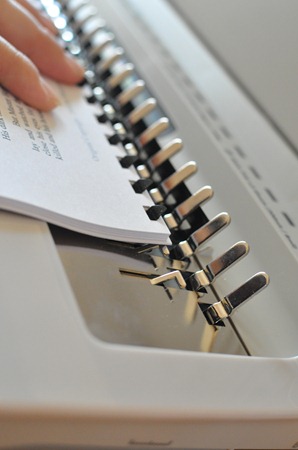
11. As the comb fills up, it often gets full before you are done feeding it. In order to fake the plastic comb out, which has no brain mind you, you have to be smarter than the comb.
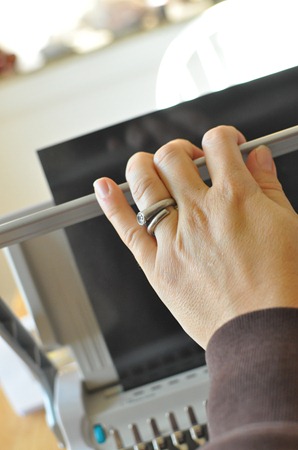
When you notice the freshly cut pages aren’t wanting to stay in their designated comb line, slowly move the smaller lever away from your body (as indicated by the blurry picture of my hand) towards the larger hole punching lever.
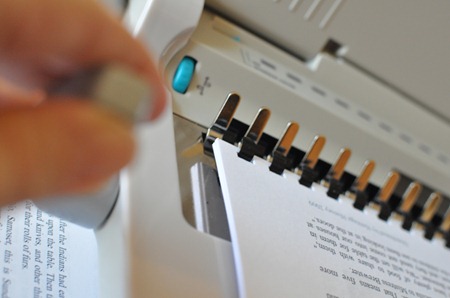
This will free up space on your black plastic comb for more pages to be inserted.
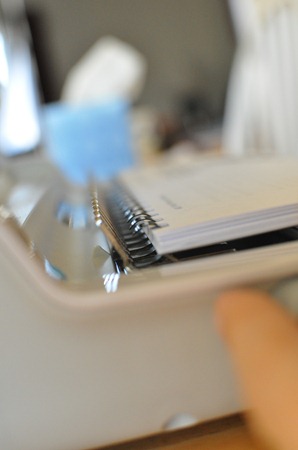
12. When you have comb punched all the pages in your book, you are ready to weave the black back cover through the full plastic comb (remember I showed a picture of this in Step 7).
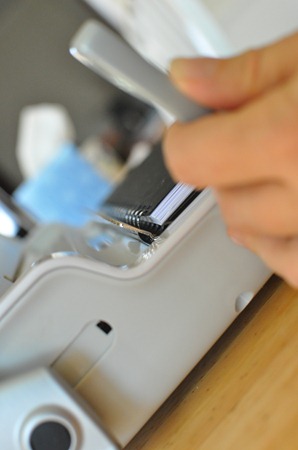
13. Complete the book by slowly pushing the smaller lever towards the table, away from your body.
Why Bind your own Books?
With the Fellowes Manual Comb Binding machine . . .
- It’s cheaper in the long run.
- Your kids can help.
- It allows you to stay at home instead of wait in line at Kinkos or some other office supply store.
- It is fun.
- You can bind handcrafted books meticulously made by your precocious child, saving them from the trash can. {Ahem, not that I EVER throw away pictures my children have drawn.}
- You can bind your friends’ books and make some money. (I have not done this, but it is a good idea, if I say so myself!)
- Personally bound eBooks make for sweet times with your children on the couch and you don’t run the risk of getting electrocuted should you spill your chai all over the paper book.
- Use the Fellowes Comb Binding machine to create Jolanthe’s Calendar Notebook Binder (we LOVE and use this!); Carisa’s Raising Rock Stars ABC Bible Verses pack; or to showcase your anatomy knowledge after using Maureen’s Human body study.
- Perfect tool to use with Grapevine Studies and both the Heritage History Curriculum and Libraries (remember I have a sweet coupon code – JODIskill – for you to use and receive the Early America Library free with any curriculum purchase).


This was a wonderful post of come across this morning! I LOVE my kindle but I still love the feel of paper in my hands 🙂 I will look into getting a binder for our school room! Thank you for the info!
Yea! I’m so glad Nancy! That was my goal!!!
Jodi, I am a visual learner…and am so thankful you created this! Now, I can read your tutorial and create my own. Thank you so much!
Ok, so I’ve been thinking about bookbinding my Heritage History books because, like you, I just can’t bring myself to reading (or having my kids read) on a screen yet. I’m reading through your post all the way down about comb binding, and then on the last picture you have one of the books with spiral binding. You can’t do that on your machine, can you? Do you have another machine for that? Do you like one better than the other? Why? I was just looking on amazon at a spiral type binding machine that is about the same cost as the one you linked to and am trying to figure out what I should do. Thanks =) Amy @ Living and Learning at Home