5 Days with Your Vitamix: The Vitamix
I always thought that Vitamix blenders were for celebrities.
You know — that powerful motor that can mutilate a cell phone and the multiple containers featuring a dry blade and a wet blade — too expensive to ever sit on my counter.

Perhaps due to jealousy I discarded the notion of this infomercial blender.
Until I got crunchy. Natural. Granola.
Suddenly everyone I knew had a Vitamix and they were far from famous. They were moms (mostly homeschool moms, I’ll have you know). But these moms who hoarded grain needed some way to turn their 300 pounds of grain into flour.
Because they had kids who needed cookies.

So, I asked for a Vitamix one Christmas. And it was a present that encompassed my Christmas and birthday gifts.

And that is how to get a Vitamix.
The post is over.
Just kidding.
Seriously, the way I have been blessed with many of the items in my kitchen is to place them on my wish list. Many times, items like my blender, have re-gifted themselves over multiple celebrations and by a “group” of people rather than one individual.
I suppose since I was motivated to get my hands on a Vitamix because I wanted to grind my own flour, I should show you how to grind grain, so that you can bake cookies.
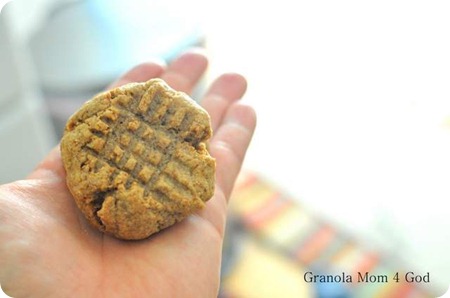
or bagels . . .

even tortillas . . .
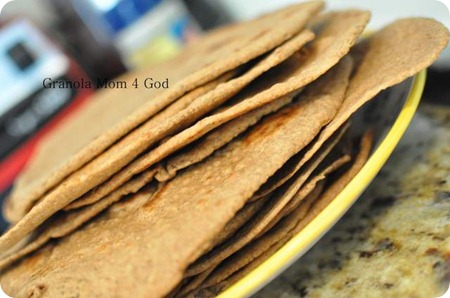
I happen to sprout my organic wheat berries first.
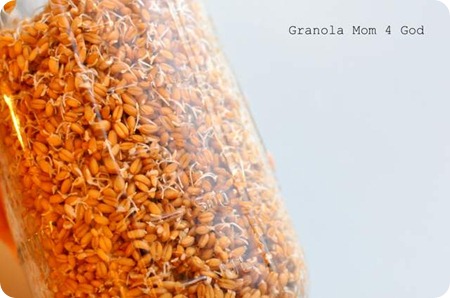
You can eliminate this step, but I wouldn’t recommend it. Nutrients are made more viable through sprouting and digestion is significantly improved by growing your grain first. Additionally, sprouted wheat berries perform much better in the Vitamix versus the “unprocessed” wheat berry.
Sprouting Wheat Berries
- Place 2 cups of wheat berries in one half-gallon Mason jar.
- Fill Mason jar with filtered water and allow to soak, covered, for approximately 12 hours.
- Drain, rinse, drain. (I use sprouting lids that fit on my Mason jars.) You are only keeping your berries moist at this point.
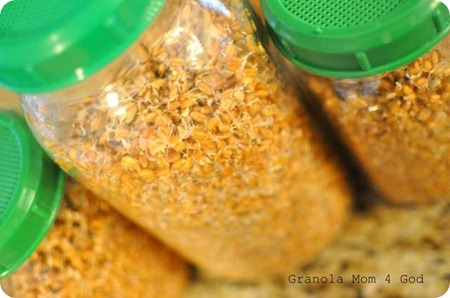
- Rinse and drain every 12 hours.
- You are going to allow your wheat berries to sprout . . . grow roots! Allow your Mason jars to harbor a wheat berry garden until the sprouts are 1/8 – 1/4 inch long.
- When your sprouts have reached their “allowed” length, rinse one final time.
- Place wheat berries on a cookie sheet (preferably on a Silpat mat to make transferring to storage easier).
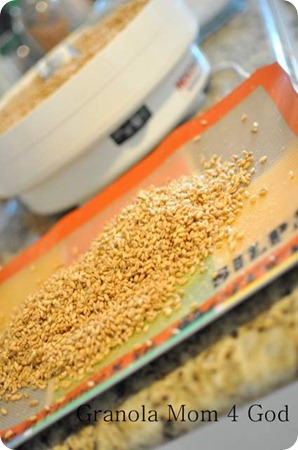
- Bake on your oven’s lowest temperature anywhere from 6-12 hours. The point is that you want your berries dry.
or
- Place wheat berries in a dehydrator on the lowest setting for approximately 12 hours.
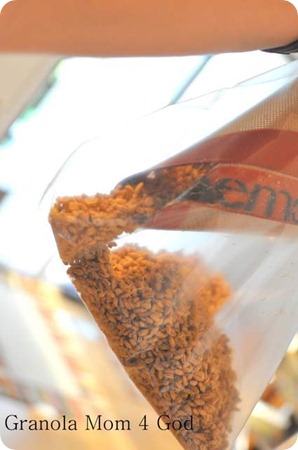
- Once dry, fold Silpat mat into a funnel and pour into a Ziploc bag. Store in the FREEZER!
For more information on the importance of sprouting grain, I highly recommend the Healthy Whole Grains eCourse.
Grinding Wheat Berries
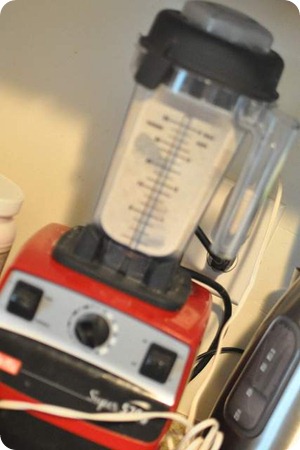
As you can see, my Vitamix is working so hard that the picture is blurry! Actually, I took a bad picture, but the kids are sleeping as I type this, and I don’t want my wheat berry grinding to wake them! Looks like we are stuck with this old, bad picture!
- Place 1 cup of sprouted wheat berries or whole wheat berries into dry container. (The Vitamix comes with a dry blade and a wet blade.)
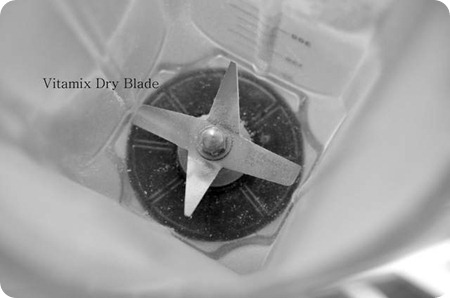
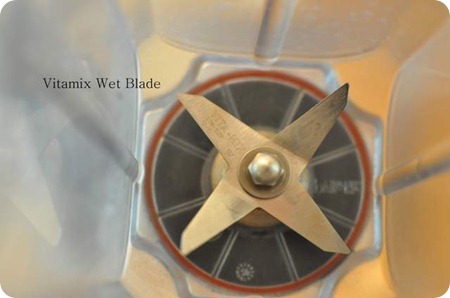
- Make sure to place the lid on the container, unless you like inhaling flour.
- Place it on the Vitmix motor.
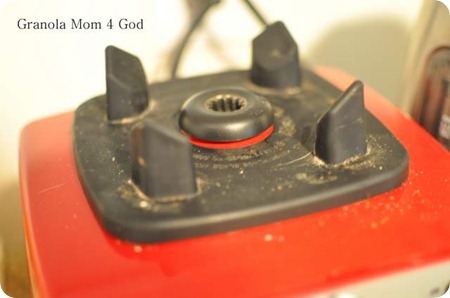
- Before turning your machine on, make sure that the “variable” speed is on low.
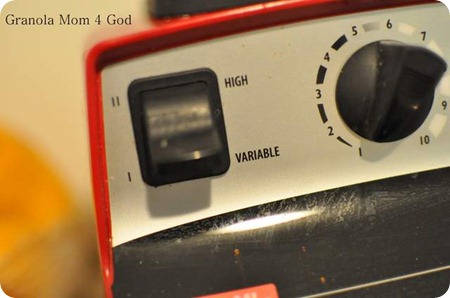
- And the dial is set at 1.

- Turn the machine on. Rotate dial to “10” and flip the switch to high.
- Grind for ONE minute.
- Dump into a Ziploc bag and store in the freezer, where you can keep it up to 14 months, though I like to use my sprouted flour within the week.
I like fresh!
For more Vitamix recipes stay tuned, but if you need something to do,
- read up on the Vitamix machine
- make applesauce
- ferment some mayonnaise
- experiment with homemade mustard
- and savor this ketchup
- but if you need something to cool you off, make a smoothie!
I would love it if you Pinned this post! 
Additionally, join these other lovely ladies as they share 5 days of Homemaking and Mothering tips hosted at Side Tracked Sarah.


Thank you for explaining the sprouting process with photos!!!
We’ve had our Vitamix for going on 15 years now. I grind wheat at least twice per week, but have never sprouted. That has always intrigued me, but I’ve just not taken the time to learn how to do it. I have all of the necessary items…VitaMix, Silpats, etc….except for those cute sprouting lids!
Enjoyed your first post in the series! 🙂
Originally, I wasn’t going to talk about sprouting . . . but I thought it warranted a mention. Plus the grain grinds so much finer if you sprout first!
Ok, I am so the opposite of granola. What do you call that? Processed? Just kidding. I’m not that bad, but I certainly don’t qualify for the granola label. Thus, I’ve never heard of a vitamix. We are gluten free, so I am excited to see what else you will be doing with it this week!
Ha! Your comment cracked me up!!! So much you can do with Gluten free . . . when we were on GAPS I made my coconut pancakes with my Vitamix . . . made life so much easier.
Great post! I just recently got a Vitamix – I saved up for it after burning up one too many cheaper processors/blenders. I LOVE IT!!!! I grind my wheat now, too, with the dry blade, but I don’t sprout. Looking forward to the rest of your series!
I don’t have a vitamix… would love one- maybe I will stick it on my wish list too. But I do have a grain mill. I have been wanting to sprout my grains for some time now, but it always seems so complicated. Thanks for clearing it up and making it a simple process. Where did you get the lids?
You have a grain mill — great. Sprouting grains is so easy. You just get in the routine of it. I actually have my 7 year old in charge of it. He measures the wheat berries, puts the water in and I don’t touch the jars for another 12 hours. It isn’t time consuming at all! Here is a link to the jars http://www.amazon.com/gp/product/B000N8MRW8/ref=as_li_ss_tl?ie=UTF8&tag=grmo4go-20&linkCode=as2&camp=1789&creative=390957&creativeASIN=B000N8MRW8
I am SO LOOKING FORWARD to this series! I just got my Vitamix a month or so ago and have been using it daily. We have only made smoothies with it so far, so I am eager to learn new recipes and techniques. I only have the wet blade…hmmmm, you’ve got me thinking about the dry one now too!
I love love love the dry blade!!!!
I am hanging on your every post (word). I hate my dry blade! You love yours…. I will totally be your young padouin. Have you tried making your own nut butters? (Can you tell I am giddy to find someone that loves their vitamix and uses their vitamix for so much more than I dreamed) Oh, I like the sprouting of the wheat berries too…
I have a nut butter post scheduled this week (well, it has yet to be written) but it is in the plans! There is so so so much you can do with the Vitamix. I might just blog more than 10 days about it!
Can you eat the sprouted grains as a snack? Once you sprout then dry them in a dehydrator, can they then just be eaten as a snack in or in cereal, etc…
If I were to eat them as a snack . . . I probably wouldn’t dehydrate them. There is a salad made with the sprouted wheat berries. I’ll have to get back to you on that! I have been loving your series!
I am on the verge of sprouting and grinding my own flour… so excited…just waiting on my Vita Mix to get here… Curious to know about what dehydrator you use and how you like it???? I am in the purchasing mode for that… Thank you – loved your post!
I just have a cheap American Harvester one. I would recommend getting one with the pull out trays — a stack of 8. That is my dream!!!