Make Your Own Almond Milk
If you follow me on Instagram, you know that I’ve become quite enthralled obsessed with making my own almond milk. I’ve known it could be done for years, but I resisted the urge to make one more homemade thing.
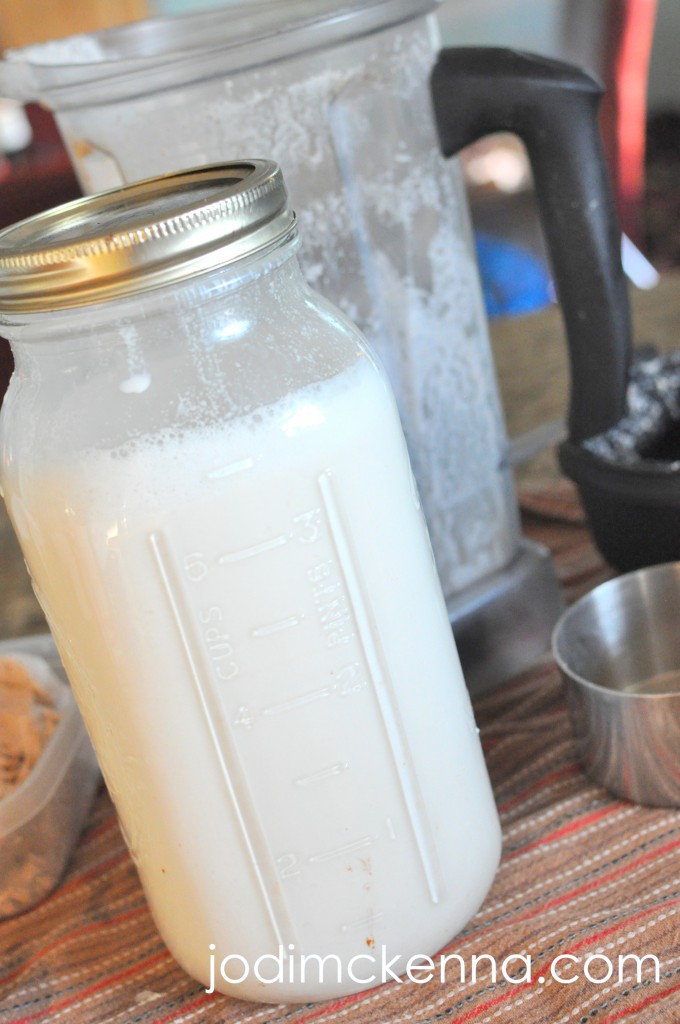 Having conquered making yogurt, water kefir, kombucha, saurkraut, nut butters, sprouted grain, chicken stock, and laundry detergent, to name a few — I just didn’t think that the culinary effort of crafting almond milk would make me any more crunchy than I already am.
But I’m doing another detox and for some reason that pushed me over the edge to learn how to make almond milk.
That or I just didn’t want to run to the grocery store.
Regardless of the reason, I have become rather snobbish about homemade almond milk and quite honestly don’t feel I could ever return to carton almond milk. The taste and texture is 100% better than it’s inferior counterpart made in a factory. Plus, I love knowing the exact ingredients in my food and being able to pronounce them.
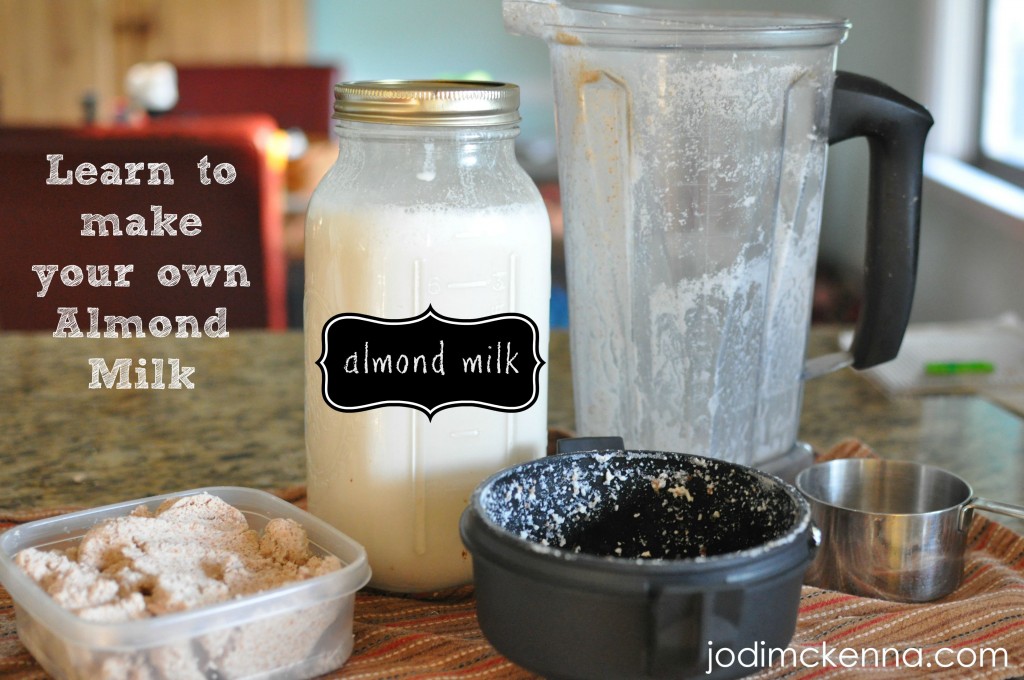
What will you need?
I always double my recipe. My kids have fallen in love with my almond milk and prefer to drink it over our raw milk. In order to avoid making it every day, I just make two batches every other day. And sometimes I make it every three days.
- 1 cup of raw almonds
- 4 organic dates (optional)
- bowl to soak almonds
- filtered water to soak almonds / 4 cups of filtered water to make the milk
- Vitamix or Blendtec
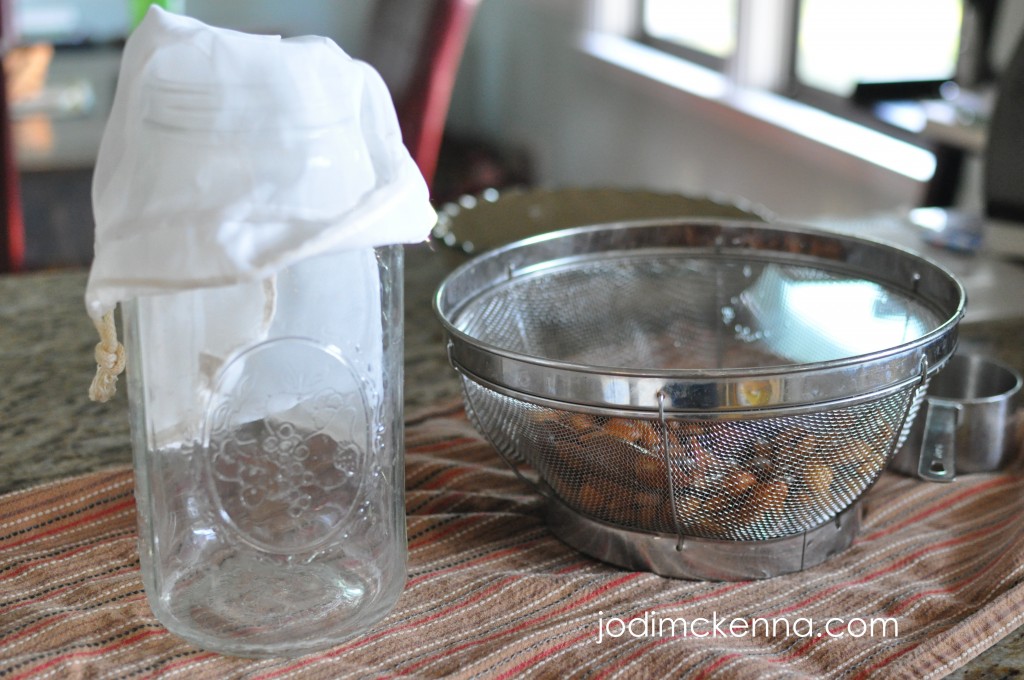
- nut milk bag (I just ordered this one.)
- 1/2 gallon Mason Jar
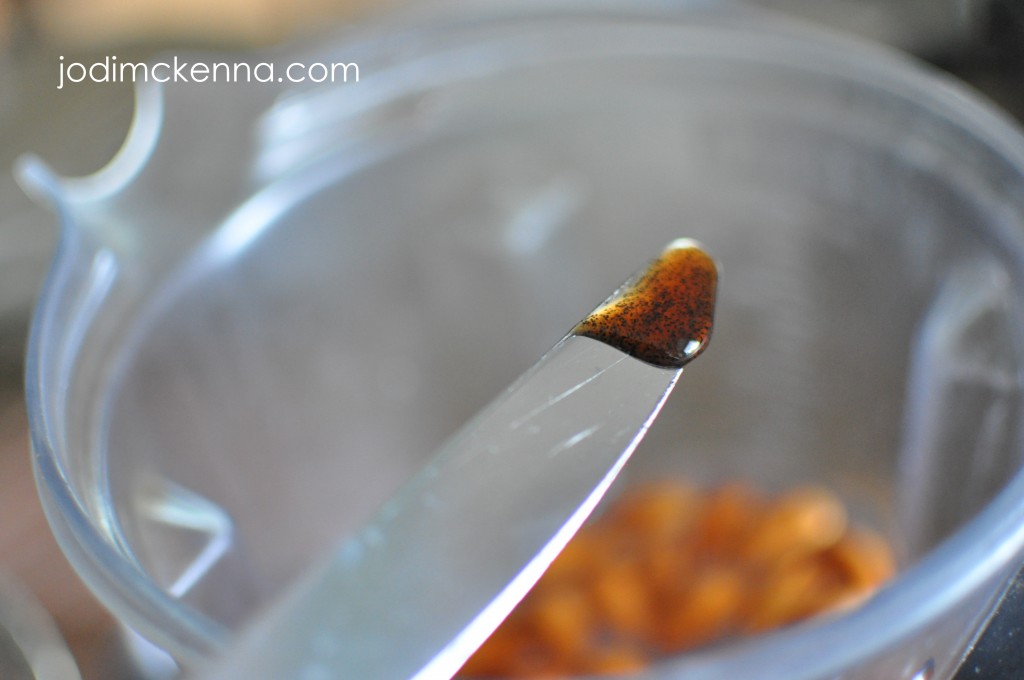
- vanilla paste, vanilla beans, or vanilla powder (optional)
Directions to make Almond Milk
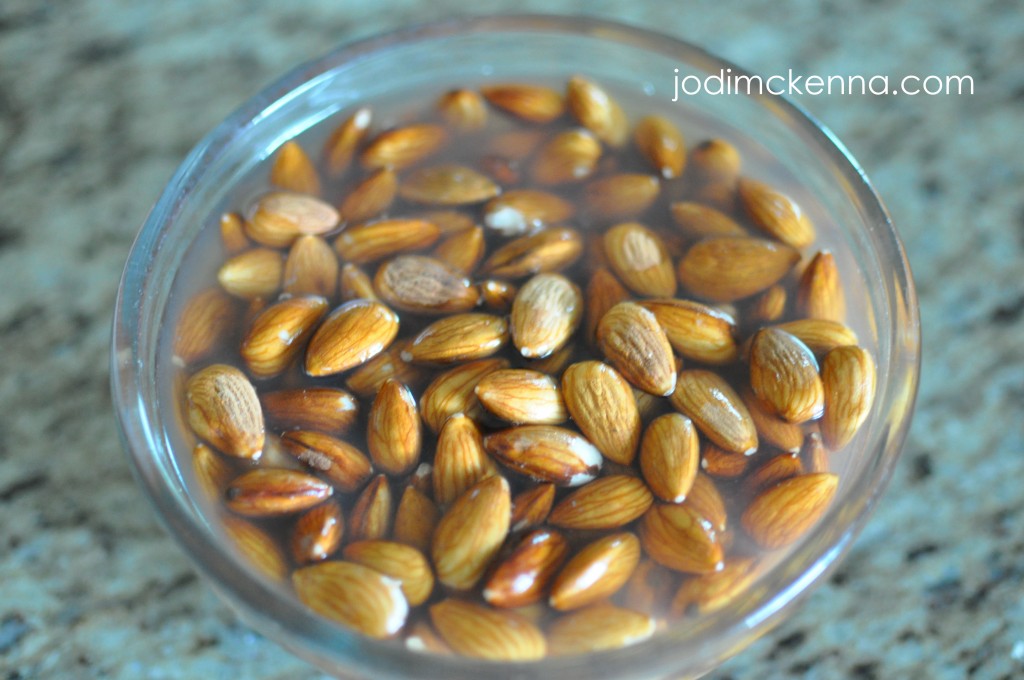
Rinse almonds in a colander. Soak in a bowl overnight for for 12 hours.
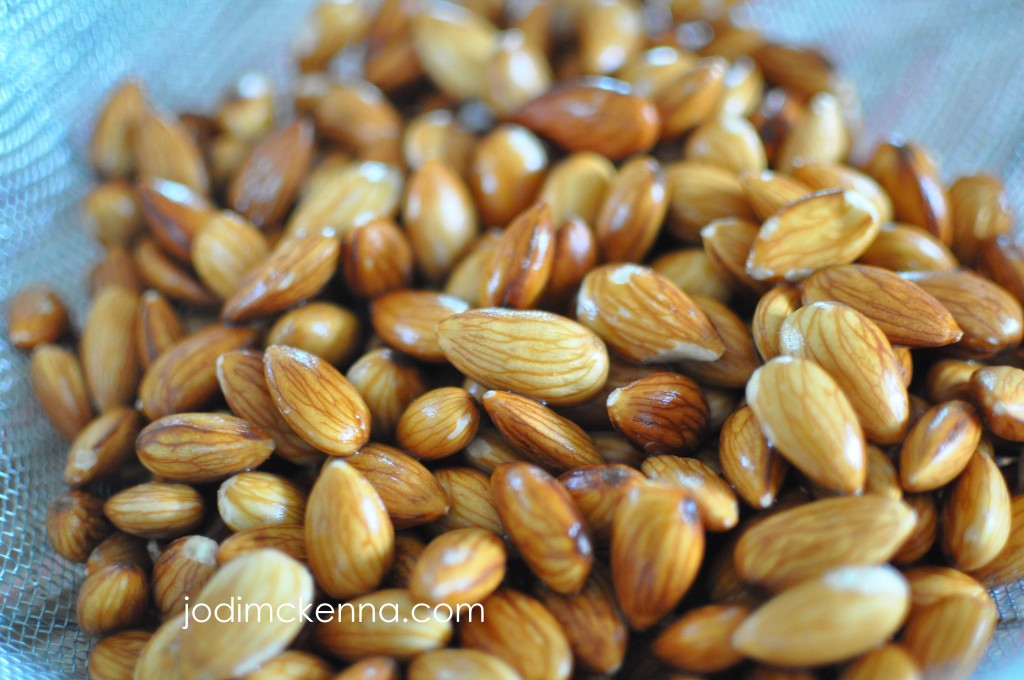
Drain and rinse soaked almonds.
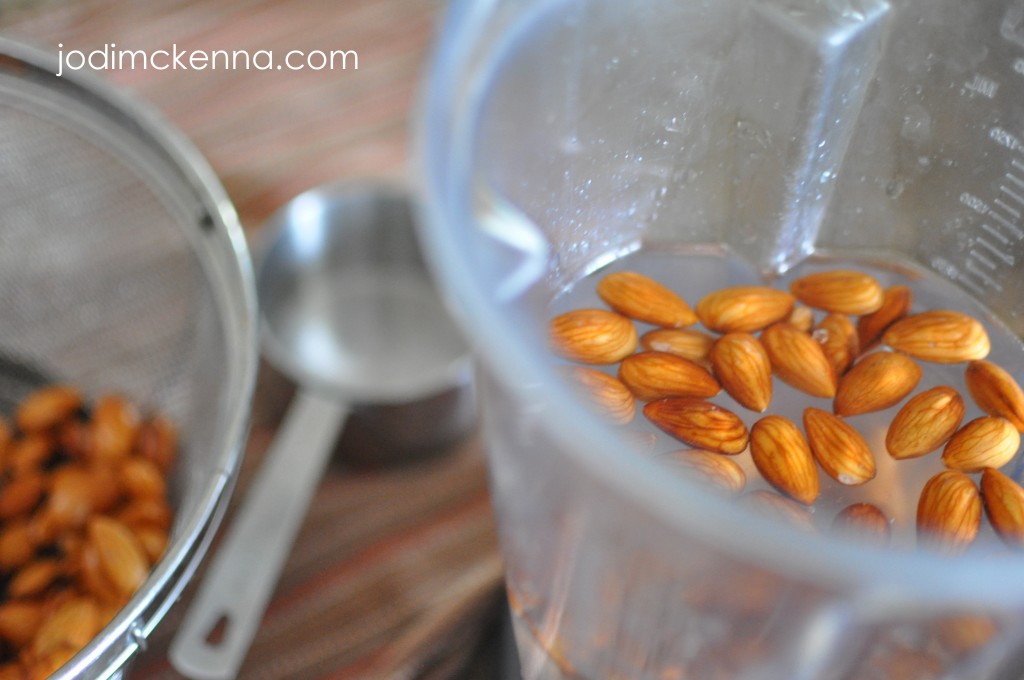
Fill blender with 4 cups of filtered water and add almonds, dates, and a dollop of almond paste.
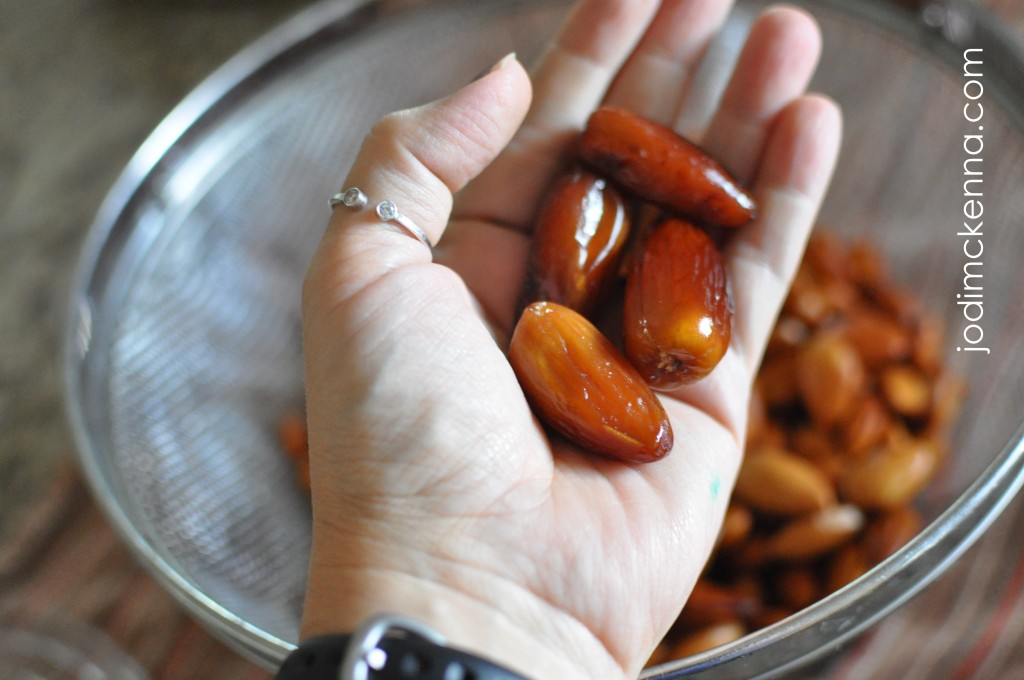
The first time I made the almond milk, I stole vanilla beans from the vanilla I was brewing. My last few batches have been with the almond paste. I am waiting on some almond powder to arrive and I will experiment with that product!
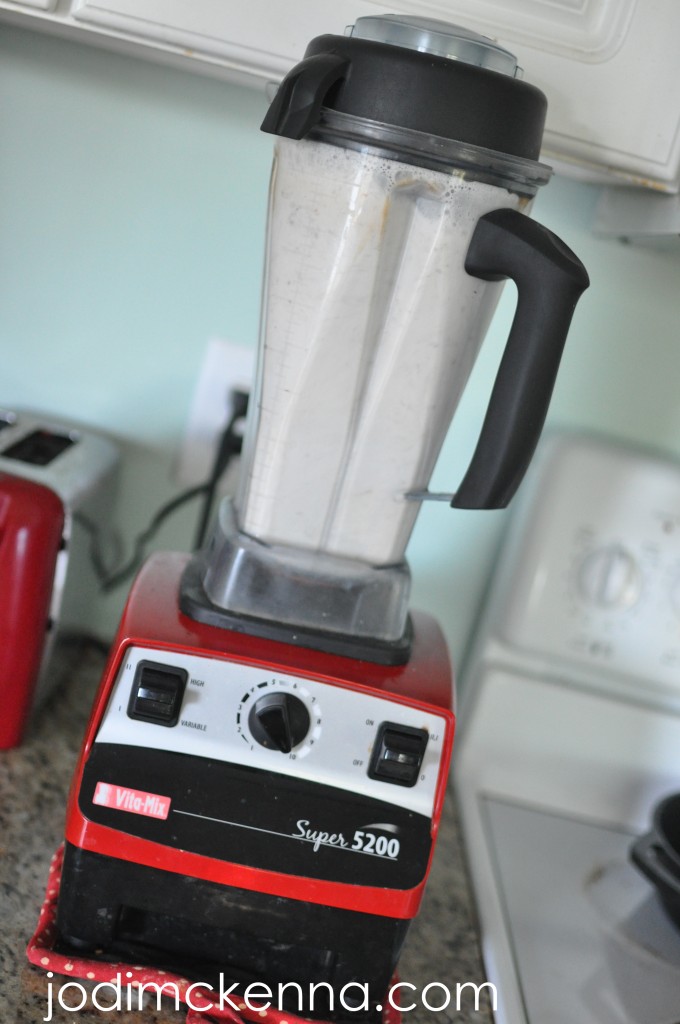
Put the lid on your machine and blend until the almonds are completely ground and you only see tiny specks.
Place nut milk bag inside of the Mason Jar. You will want to hold on to the bag or screw the ring on to hold the bag for you as the liquid pours in. I suppose this is only a problem if you are trying to take a picture the same time you pour.
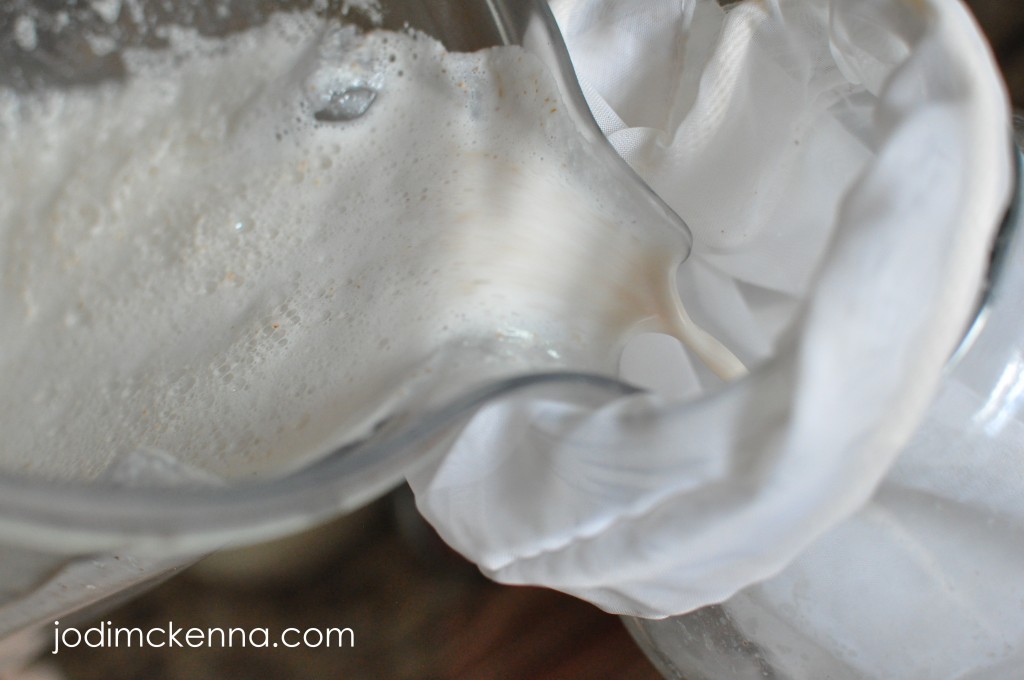
Gently pull bag out of the Mason Jar when you have eliminated all milk from the blender jar. You do not want to yank the pregnant bag up and out of the jar. Trust me. It’s messy.
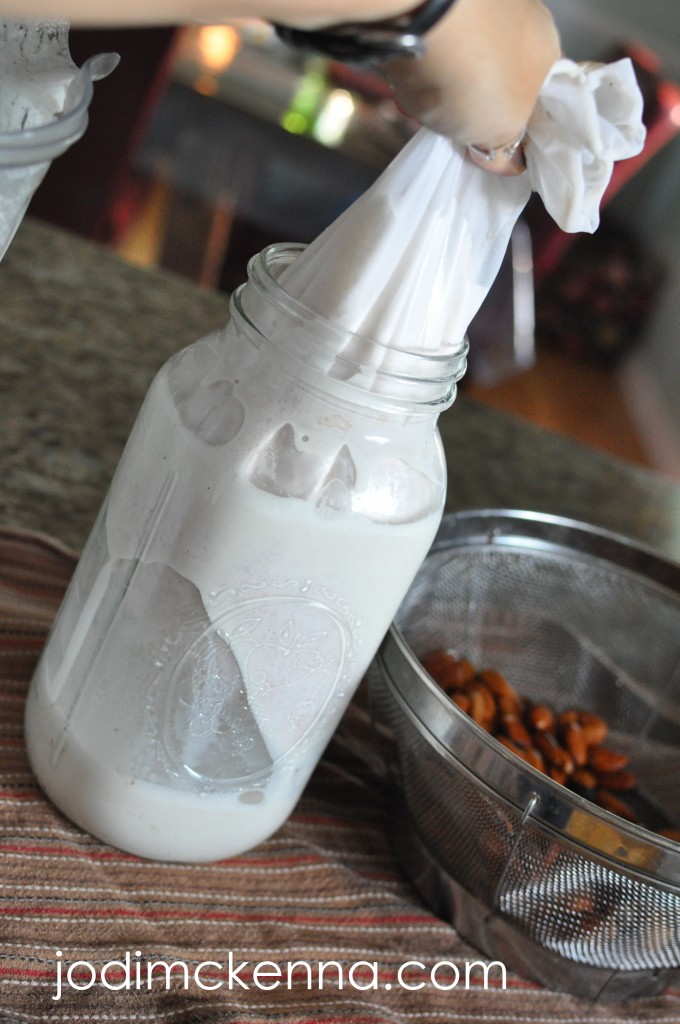
Gradually squeeze the bag downward to encourage the almond milk to filter through the nut bag.
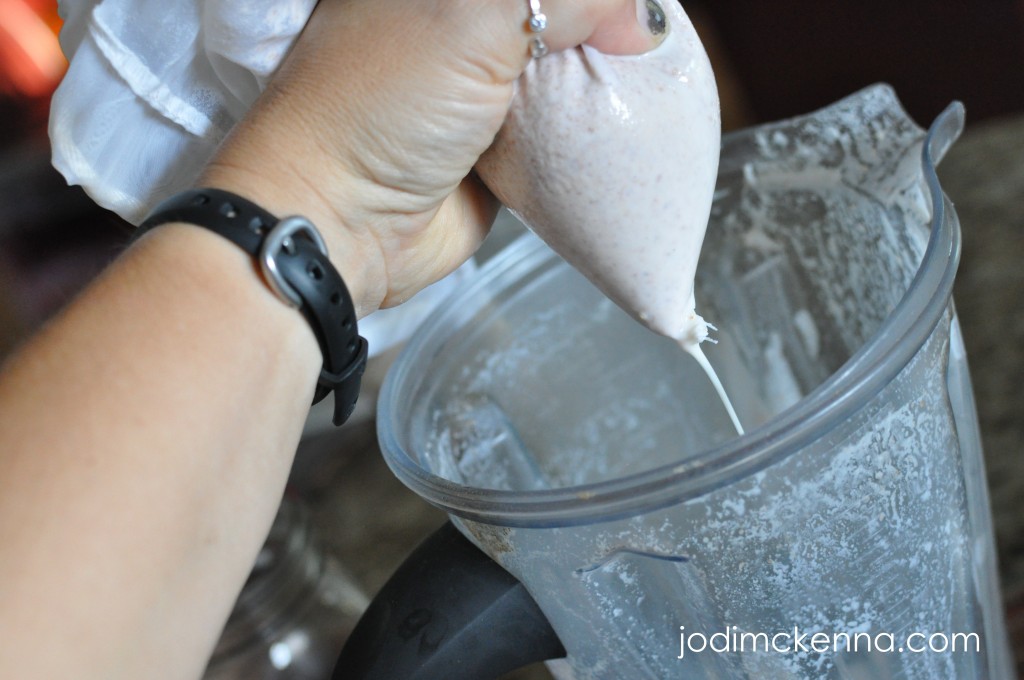
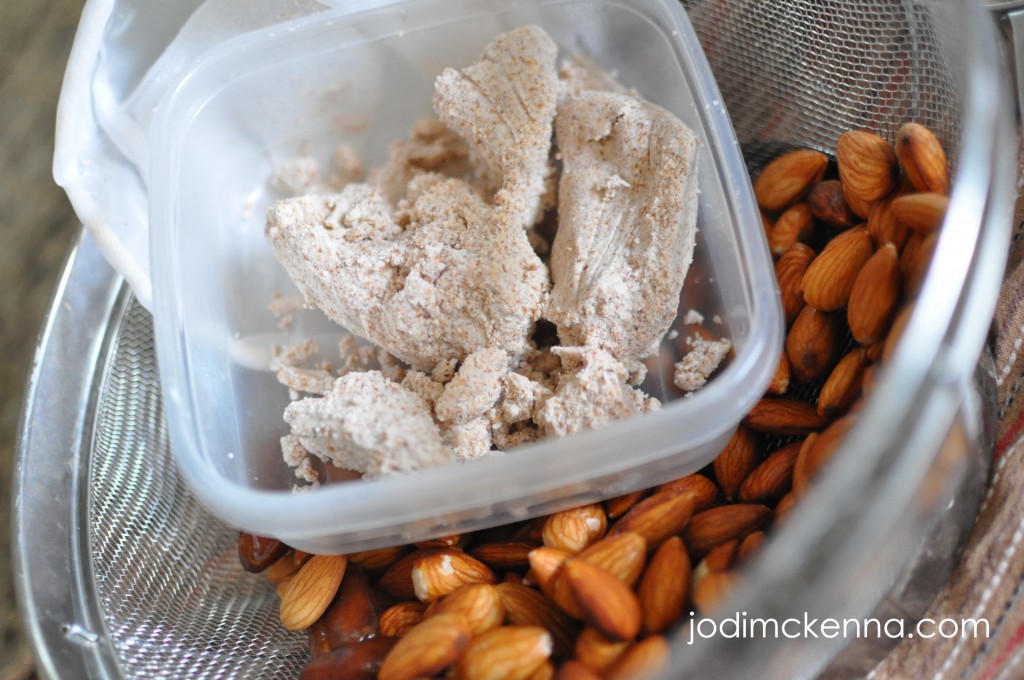
When you are done you have moist almond flour. I place this in a Tupperware and put in the fridge to make crackers or bread out of later.
Chill milk and enjoy!
Be sure to check out my other recipes!

Well, you certainly make that look “easy” enough!
Hmmm…