Putting a Sauna Together
Those of you who are regular readers of my blog may recall that we recently acquired a new Golden Designs Sauna to help us improve our health. You may have wondered how something as large as a sauna gets shipped to your house. (Ummm . . . a large truck. I know, big surprise.) You may also be wondering how difficult it was to assemble something like this. (If you can follow instructions, anything is possible.) The shipping was a breeze and putting a sauna together is a lot like following Lego directions. The only difference is that putting a sauna together is really a two person job that requires a bit more muscle (read the Engineer’s muscle).
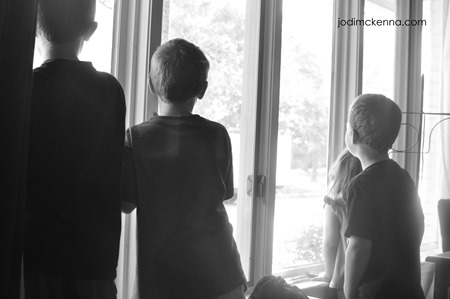
Only a couple of weeks after we ordered our sauna it arrived on schedule at our curb on a freight truck – all 305 pounds of it (shipping weight). The kids looked out the window all morning. I kid you not.
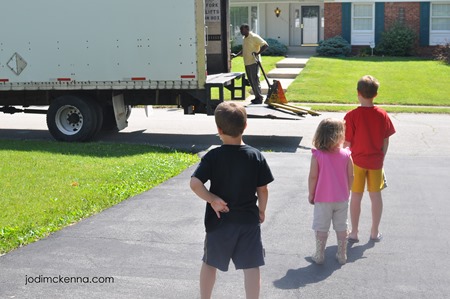
Thankfully the driver willingly used his pallet jack to move the shrink wrapped box into our garage. I was willing to make him chai in exchange . . . and the kids were ready with chocolate. But he took one look at us . . . and realized that our scheming about jerry-rigging the boys’ bikes to move the sauna from the bottom of our driveway to the garage were indeed sad. Fortunately we didn’t have to use one of those brilliant ideas.

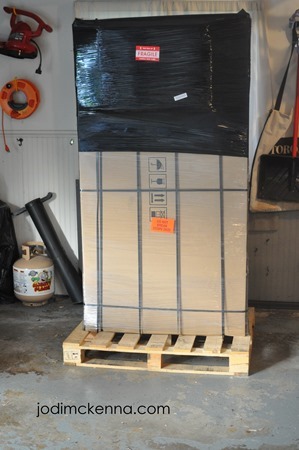
Once the Golden Designs Infrared Sauna was in the garage, we were able to assemble our own personal detox hot box whenever it was convenient for us. I think it resided in its temporary location a good 3 days. We like pulling our cars into the garage too much.
Piecing our Sauna Together
There is absolutely no way I could have put our sauna together by myself. Many pieces were heavy and I needed the Engineer’s strong muscles. With both of us working on this together, we were able to complete the whole assembly in about 90 minutes.
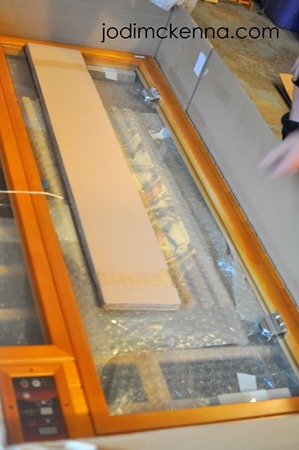
The Engineer carefully slit the plastic open. I say carefully, because we just weren’t sure if the box would explode when the compression was released from the shrink wrap.
Kidding!
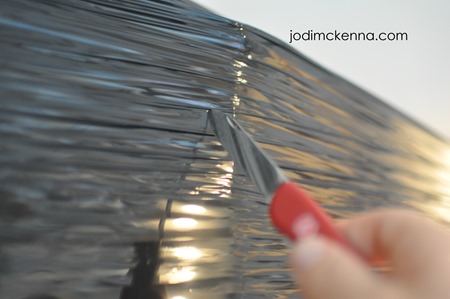
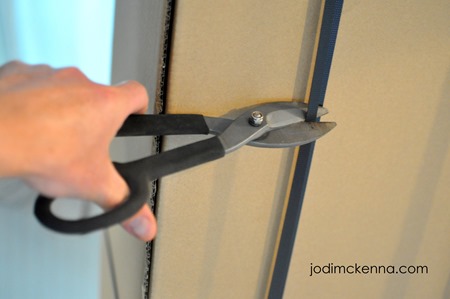
And then the ties were released. I have expected a massive unraveling of plastic chords shooting all directions in the garage. But it wasn’t nearly so dramatic.
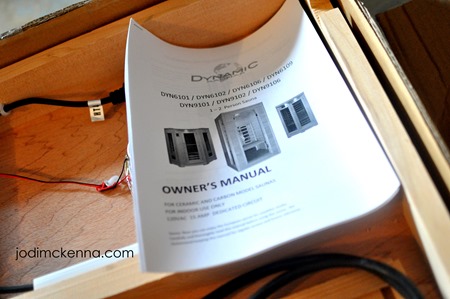
We (actually The Engineer) gently laid the box down (I’m assuming he was gentle as nothing was broken). The owner’s manual was easily located and laid out all of the steps needed to assemble the sauna.
(Note: the balloon is there for effect. We had recently had a lemonade stand.) Look how happy he is!! (Actually, The Engineer was already a little frustrated with my picture taking. It impaired my ability to help him carry the hemlock sauna inside and up into our bedroom.)
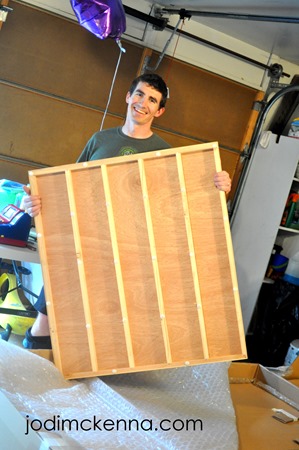
After several trips of carrying the individual pieces in from the garage,
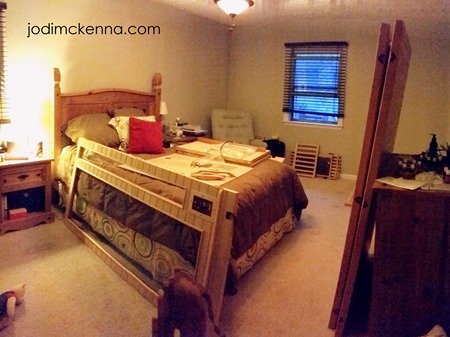
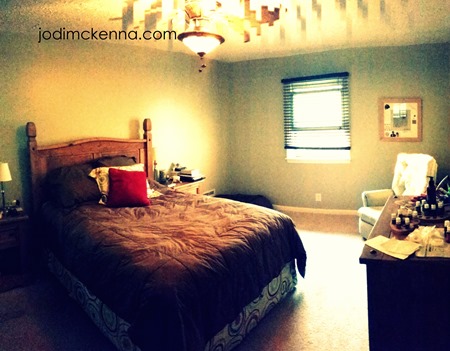
we began fitting the large panels together in this cozy corner of our bedroom where the sauna would reside. We chose our bedroom because we wanted the time in the sauna to be restorative and quiet. Additionally, the school room just didn’t seem like an ideal location and the family room was certainly off limits.
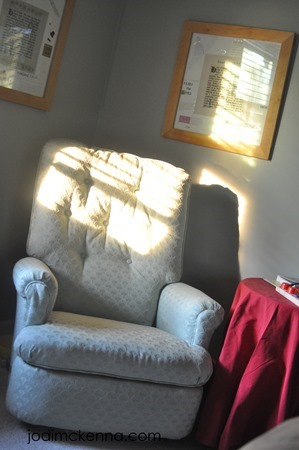
To demonstrate how uneventful the process was, let me show you how Ruth slept through the whole thing. Some help she was.

We laid the base down first and then came the front wall that included the glass door. (Boot not included.)
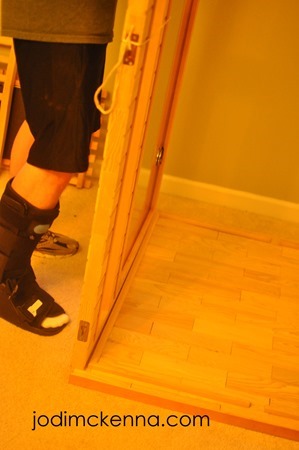
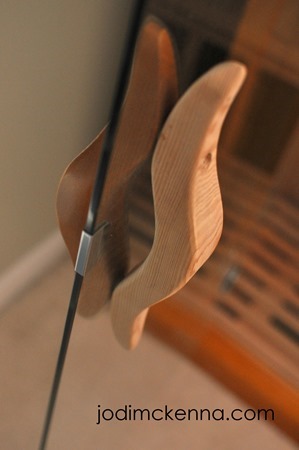
I like the nice carved wooden handles – the outside is finished and the inside handle is the unfinished hemlock wood.
Once all four panels have been slid in place, we locked them together with the preassembled clamps.
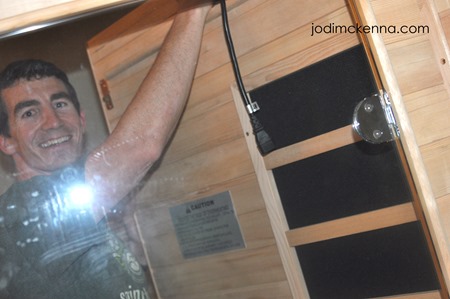
This was one of the trickiest maneuvers for me. At this point the sauna was so close to the wall it was hard to obtain the proper angle to lock the walls in place. The Engineer had to finish this task off. (My hero.)

The sauna was almost complete as each of the walls shipped with the infrared heater panels preinstalled. To finish off the inside of the sauna we installed the bench . . .
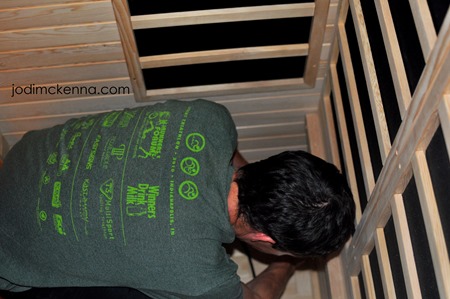
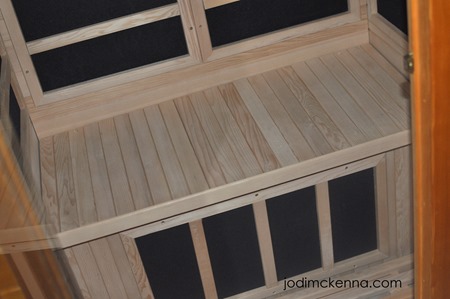
Once the bench was done we put the ceiling panel in place and simply plugged all the cords from the heater panels into the control module that was a part of the ceiling panel.
Sauna “Amenities”
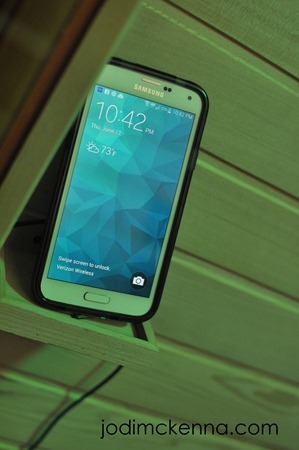
Our Golden Designs Sauna also came with a nifty feature – the ability to attach our phones to the speakers that were preinstalled in the ceiling panel.
It also sports a nifty remote to control the led lights.
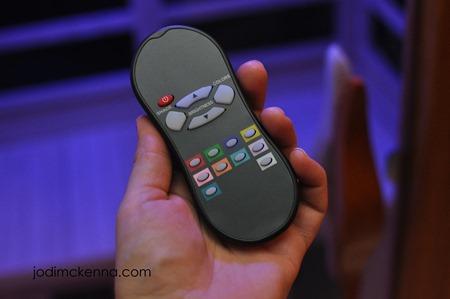
Which our children love.
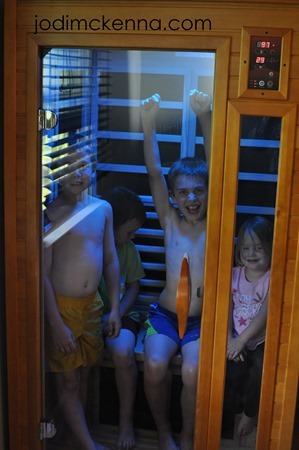
The control panel was preinstalled in the front wall and allows you to control the time and temperature settings from either the inside or outside of the sauna.
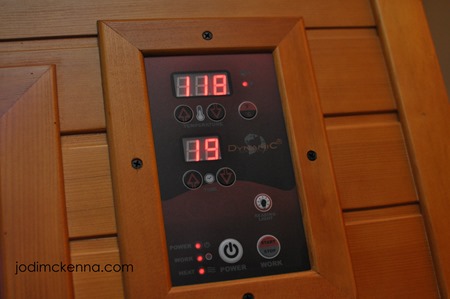
Many times, one of the the older boys will preheat the unit for us so that one of us can sauna after we tuck them in to bed for the night.

ENGINEER’s NOTE
This really was a “snap” to setup. The instructions were very clear and while I would definitely want two people to work on this, there was nothing complicated about setting it up. If you know how to build legos, use a screwdriver, and plug a cord into a wall outlet, you can do this.
Read more about our Health Journey
- What is Psoriasis?
- Spiritual Whitespace – the emotional journey
Learn more about Infrared Saunas by visiting the Golden Designs website. We are so thankful for them providing us with a sauna to use in our home to help with metal detox.
